 By Patricia Hunter
In a 1902 New York Times editorial, the writer flatly argued against the suggestion by physicians that Americans were eating too much pie and that they should reduce their consumption to no more than twice a week. His reasons included the fact that pie was “the American synonym of prosperity . . . the food of the heroic . . . its varying contents, the calendar of the changing seasons,” and that “no pie-eating people can ever be permanently vanquished.”
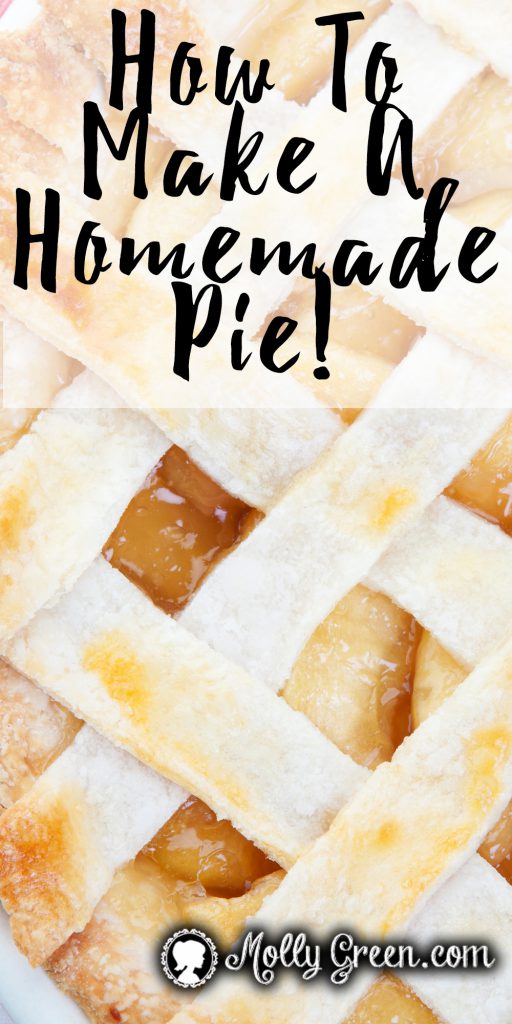
I’ve never thought of pie as “the food of the heroic” or that it symbolizes prosperity, but I do love pie, as well as the Norman Rockwell image pie creates of hospitality and family gatherings. In this month of holiday gatherings, and with National Pie Day just around the corner, December seems like a good time to hone our pie baking skills. Besides—we might be feeding heroes in training. Most of the time, pie is a dessert, but it can also be a main dish. In fact, pie crusts were originally non-consumable cooking containers, called coffyns that were used to bake meats and/or vegetables. Coffyns were molded with tall, straight sides that were several inches thick with dough that was tough and inedible. Whether pie is a dessert or a main dish, it isn’t pie without a crust, but some of my pie crusts have been tough like coffyns, instead of tender and flakey, so I consulted my friend, Debbie, for help.
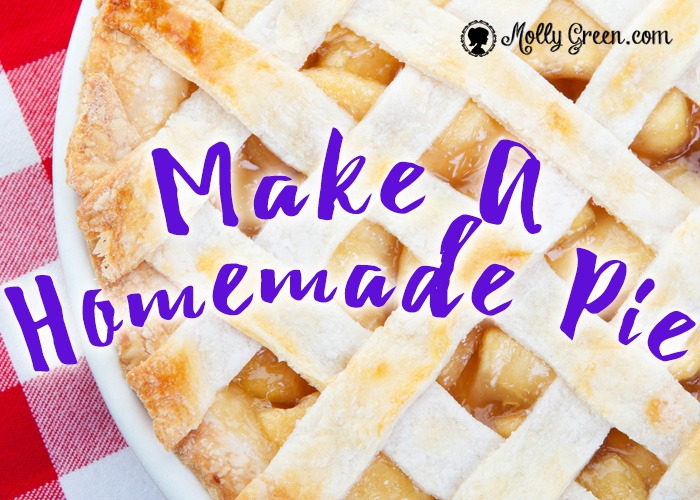
Debbie learned how to make pies from her grandmother, the co-owner of a restaurant famous for their homemade pies. From the time Debbie was five years of age, her mother would send her on a bus to stay with her grandmother who lived over the restaurant. Debbie would get up early in the morning, climb down the back steps to the restaurant, and watch the woman who made the pies. She’d give Debbie scraps of dough to roll out, spread with butter, sprinkle with cinnamon and sugar, and then roll them up to bake. Debbie said that the cook would also let her lick the pots, and it’s still her favorite part of baking a pie. Single-crust pies can be baked with a filling, baked with a filling topped with a meringue, or baked and then filled. It just depends on the recipe. Fruit pies are usually double-crusted and can be decorated with a latticework top or cut-outs, like leaves, stars, or hearts.
Debbie recommends that we gain confidence in making pie crusts by baking single-crust pies, like pumpkin or sweet potato, before tackling a double-crust pie. She graciously offered to share her recipe for a single pie crust (which is almost exactly what most cookbooks recommend), as well as a few tips that are important for achieving a tender, flakey crust.
Debbie’s Single-Crust Recipe Ingredients:
- 1-1/3 cups all-purpose flour
- 1/2 teaspoon salt
- 1/2 cup well-chilled shortening
- 3 to 6 tablespoons of ice cold water
Directions:
- Fill a glass or small bowl with ice and water and set it aside.
- Blend the flour and salt in a separate mixing bowl.
- Cut the ½ cup of chilled shortening into ½- inch cubes.
- Using a pastry blender, cut the chilled shortening cubes into the flour mixture until it becomes small crumbs with pea-sized pieces.
- Sprinkle 3 tablespoons of ice cold water over the flour mixture, and stir with a fork to distribute evenly.
- To test the dough for proper moistness, squeeze a marble-sized ball of dough in your hand.
If it holds together firmly, do not add any more cold water. If the dough crumbles, add more cold water by the tablespoonful until the dough passes the test. Shape the dough into a ball, pat it down gently, and roll it out in the shape of a circle, about an inch larger than your pie pan, on a well-floured surface (or a pie mat designed with circle outlines as guides). Be careful not to overwork the dough by kneading it like you would bread dough, or the crust will become tough.
- To move the crust, gently fold it into half, brush off excess flour, lift it, and unfold it in the pie pan.
- Gently fit the crust to the pan with your fingers. If the dough tears, just dab on a little cold water to the tear to repair it.
- Trim the edge with kitchen shears or a sharp knife, leaving enough overhang to tuck them under and flute the edge.
The key points Debbie wants us to remember are: use cold ingredients (some cooks recommend chilling even the dry ingredients before blending, especially if you are working in a warm kitchen), coat the flour well with shortening, don’t add too much water, and don’t overwork the dough. Though Debbie didn’t mention it, butter can be substituted for the shortening, but not margarine or oil, and any ice-cold liquid, like milk or buttermilk, can be substituted for the cold water. Rather than rolling out the dough on a floured surface, you can roll it between two pieces of parchment or wax paper. I’ve also been told that pies bake more evenly in glass or ceramic rather than metal pans. These tips can help troubleshoot your way through different issues that you may come up against while you make your crust. Each time it will become easier until you have the perfect pie. Happy Thanksgiving and happy pie-baking!
What’s your favorite Thanksgiving pie?