


By Meredith Duke
We hunt to feed our family. We are trying to live as self-sustainably as possible and that means hunting for our own meat. It’s not for sport or for show, but for food. Every year my husband and children go hunting during the fall for deer and when they get one it’s a process we follow to put fresh meat in the freezer. In the following posts, you’ll learn how to process a deer once it’s been cleaned and gutted, how to cut up a deer into the different cuts of meat and in the 3rd article I show how to make venison sausage.
Before I even go any further, please note that some of these pictures are of a dead deer. There’s no other way to process a deer without it being dead. So, if you’re squeamish, you might not want to read any further. My hubby does all of the “outside” work when it comes to cleaning the deer, and the kids and I handle the actual processing of it (turning it into usable cuts of meat). James, now 15, is starting to learn the process of cleaning the deer, so I imagine in the next few years he’ll be doing just as much as his dad.
Before beginning, have all your tools and space set up inside where you will be processing the meat. It makes butchering a deer go so much smoother when the meat is brought in.
How to Process a Deer
- Step 1: Skin the deer.
- Step 2: Wash the deer meat.
- Step 3: Wash away the blood.
- Step 4: Remove the membrane with a sharp knife.
- Step 5: Debone the legs.
- Step 5b: Work your way around the bone.
- Step 5c: Remove the bone.
- Step 5d: Meat without the bone.
- Step 6: Wrap the meat in paper and put in the freezer.
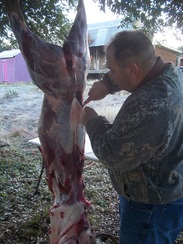
Johnny has already skinned the deer and is working on removing the backstrap (which is the best part of the deer).
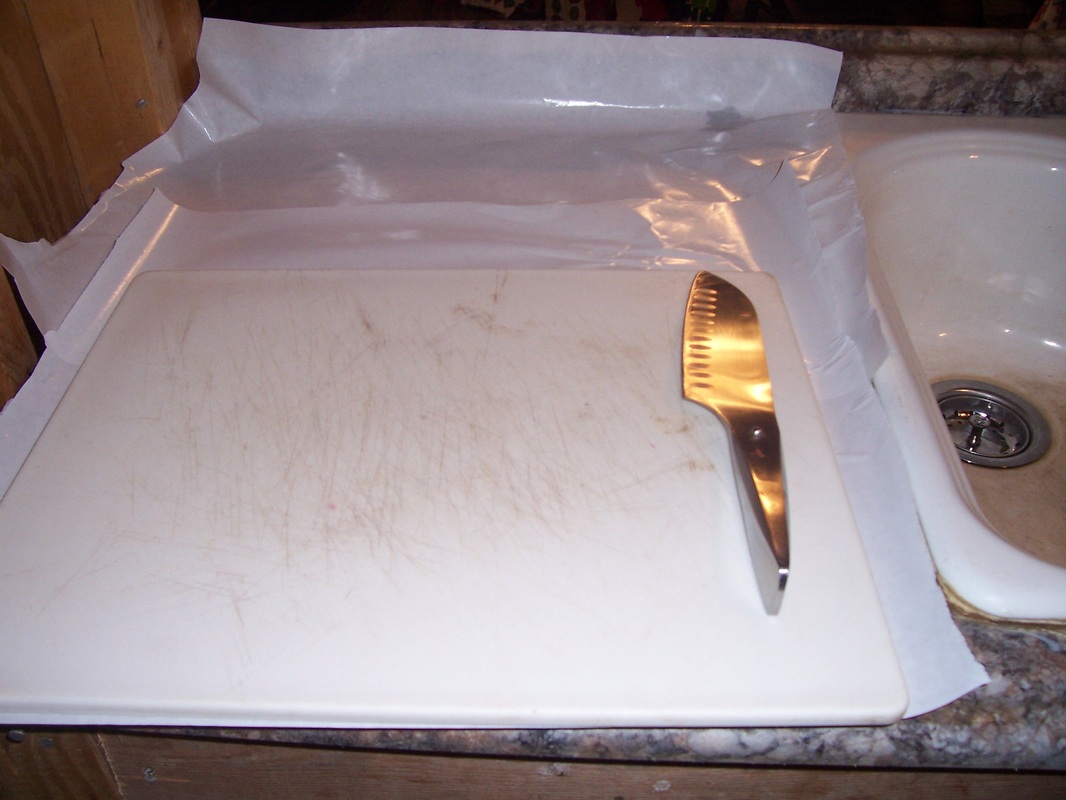
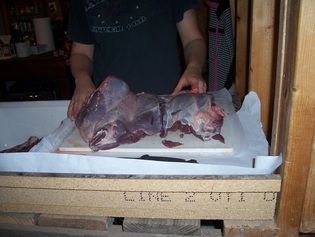
Back inside, I’ve prepared my work space next to the sink. The first part in processing a deer is to wash it with water to remove any leaves or other debris, excess blood and the bones.
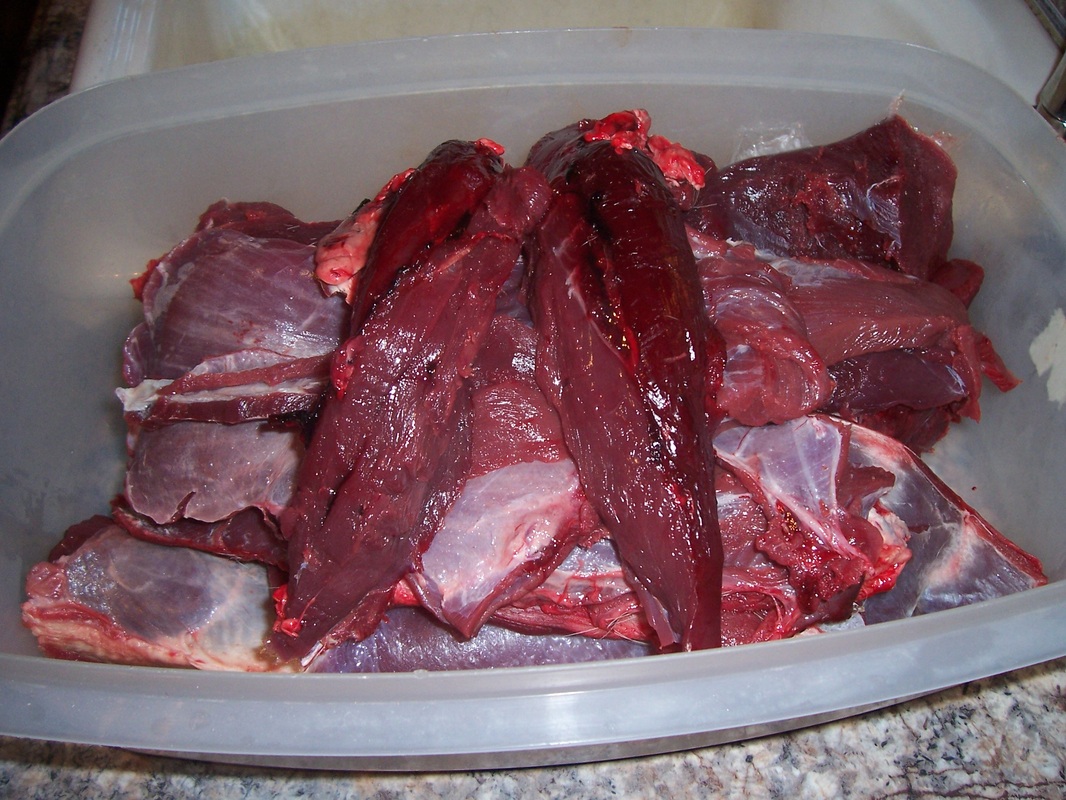
The smaller pieces are brought to me in a big tub (the backstrap, tenderloins, flanks, etc.). Do you see the dark blotches of blood? I wash those away during this process.
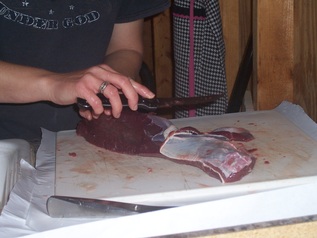
The backstrap runs down either side of a deer’s spine. It is extremely tender. One of our favorite meals is fried backstrap, mashed potatoes and green beans. Anyway, I digress. At this point, I carefully remove the membrane with a sharp knife. The best time to do this is when the meat is partially frozen as the membrane is easier to remove.
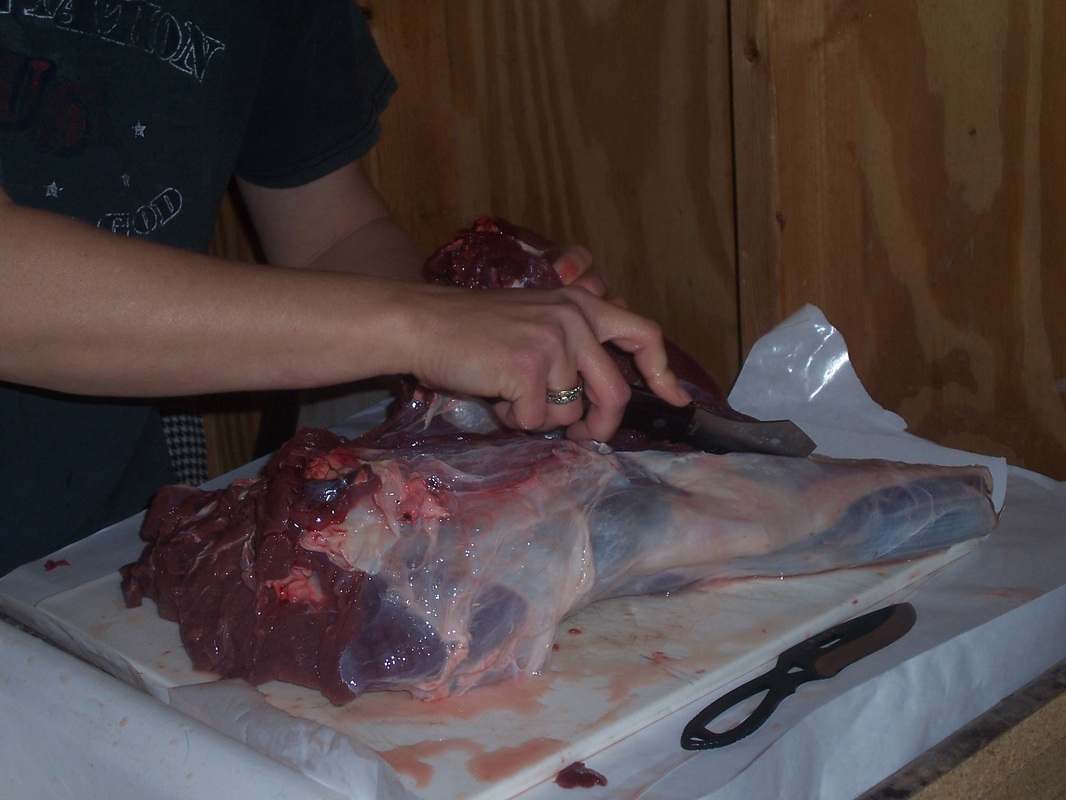
De-boning a leg. Find where the bone is in the leg. Starting at the end where the bone is closest to the skin, slice the meat right above the bone. Try not to hit the bone with your knife as this will dull it.
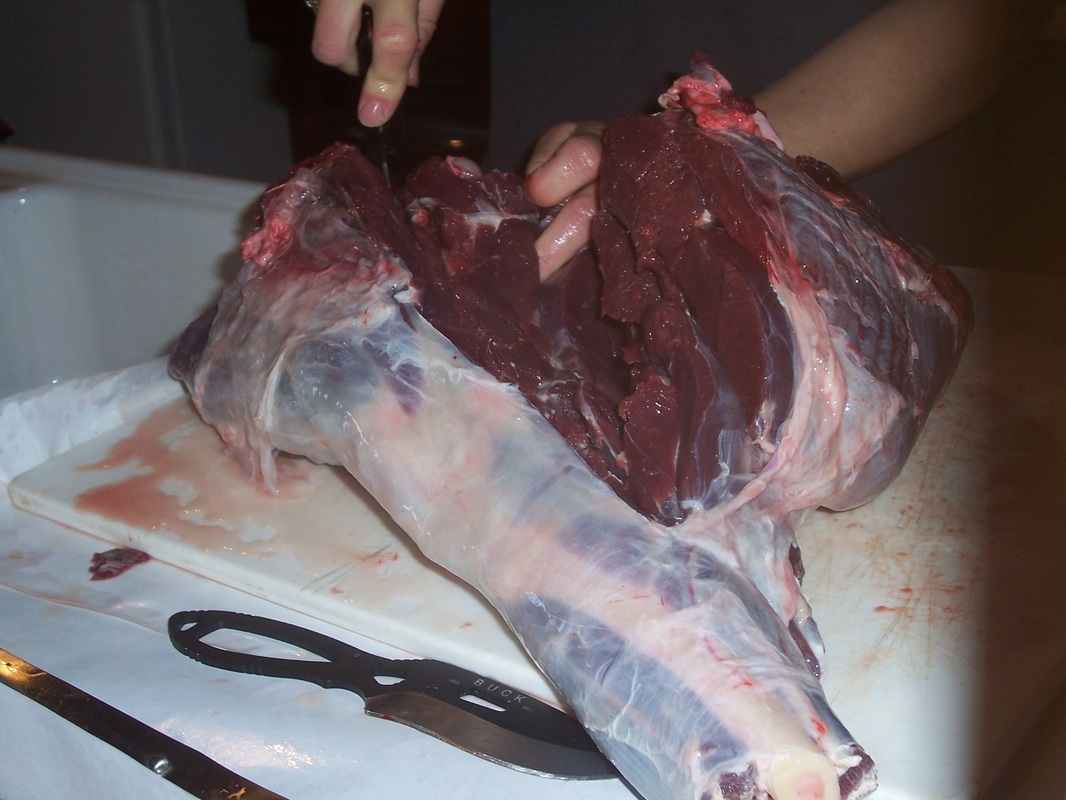
Slowly, and with short strokes, carefully cut through the meat until you get close to the bone. As you get closer to it, the meat will spread open. At this point, simply work your way around the bone cutting the meat next to the bone.
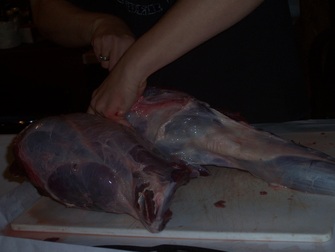
Eventually you’ll work your way around and can remove the bone.
This is the final piece of meat without the bone.
Once the legs have been de-boned and all the meat has been washed and cleaned, wrap each piece in freezer paper, tape the ends and place it all in the freezer. Now that this part is done, wash your utensils, clean up your work area, and sit back and relax for a bit. When you’re ready for the next step of deer processing.
Meredith Duke is a homesteading mama on the outskirts of Austin, Texas. She and her family are beekeepers, gardeners, hunters, and general “DIYers.” They are always seeking ways to expand their skills and learn the “old ways” whether it’s canning, quilting, or simply trying to find new ways to save money and be good stewards of their God-given resources. You can read more about the Duke family’s adventures at www.sangabrielfarm.com.