


By Stephanie Oaks
The seeds that you select for your growing space is one of the most important decisions you will make in your growing experience. Plants are constantly adapting and interacting with their environment. The seeds of these plants contain genetic information that has adapted to the rain, drought, humidity, viruses, fungi, insects, etc., of any given climate.
Because of this, it is essential to choose seeds that have been raised in the region that you are growing in.
Our Seed Mistake
When we moved from Seattle, Washington, to Nashville, Tennessee, we were aware of this phenomenon but brought our seeds with us anyway. Our first growing season here in the South was a learning experience in and of itself, made more difficult by the fact that we were using seeds that were adapted to a completely different zone and region of the country.
We should have donated the seeds to friends and family before we moved, and started from scratch. Lesson learned. When selecting seeds, choose seed companies not only from your zone but also from your region of the country. It will make all the difference in the success of your growing experience.
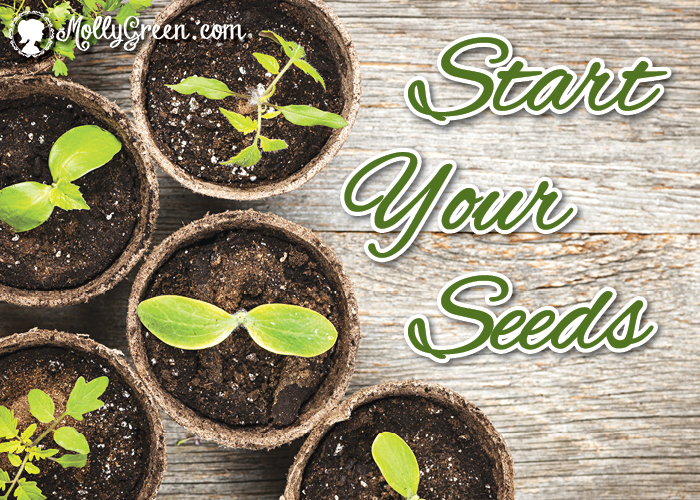
How to Select Seeds for your Garden
In a world of genetically modified seeds and hybrids, it is important to choose your seeds carefully. Here at No. 9 Farms we strive to use strictly organic, heirloom seeds. Seeds that have not been altered genetically, have not been exposed to harmful chemicals, and are open-pollinated so that they can adapt to the specific microclimate at our farm and be saved, leading to a more successful season the following year.
Seeds fitting into this description will be labeled organic, heirloom, non-GMO, and/or OP (open-pollinated.) Sometimes a certain variety that you wish to grow will only be available as a hybrid seed, sometimes labeled as F1. Be sure to obtain these seeds from a small, local seed bank or grower in your region, and know that you will not be able to successfully save seeds from these plants.
Successful growing is the result of careful planning that incorporates varieties that do well in specific climates and are planted at the appropriate time. Fortunately, local seed companies committed to offering regional seeds will only offer seeds that grow well in that particular region, so you can choose confidently from these providers.
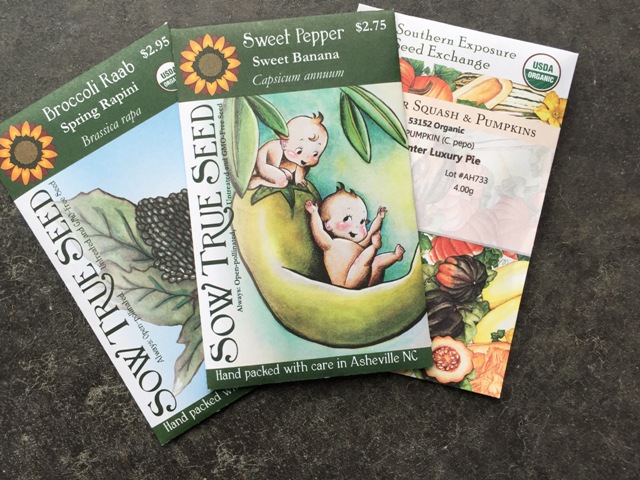
Where to Buy Seeds
Here in the South, we purchase our seeds primarily from Southern Exposure Seed Exchange and Sow True Seeds. When searching for special varieties we branch out to Baker’s Creek Heirloom Seed Company.
Once you have chosen and ordered your seeds it is time to start planting! The timing of planting varies from region to region. Here in middle Tennessee, our seeding begins at the end of January and continues into October. There are two approaches to starting seeds: starting seedlings indoors or in a greenhouse—later to be transplanted into the garden—or direct seeding into the ground. As a general rule at No. 9 Farms, we direct seed as much as possible. Seeds that are able to germinate and grow in one place grow into healthy, thriving plants. Any time a plant is transplanted, it goes through a period of shock, stunting its growth to a certain degree. If transplanted properly, this can be minimal.
Farming and gardening usually do not happen in a perfect world. Areas exist all over the country where growing seasons are too short to successfully grow peppers from seed in the ground, for example. Even here in the South where our growing season lasts months longer than other regions of the country, we still start our pepper and tomato plants indoors in order to reap the benefits of our extended warm season as long as possible, mostly because we are anxious to eat fresh, ripened tomatoes again.
We also start brassicas (cabbage, cauliflower, Brussels sprouts, etc.,) in the greenhouse starting in February to take advantage of our short spring weather. Temperatures here in the South go from freezing to blazing hot in a matter of a few short months, so having a head start on our cabbages and broccoli is important.
Often we are also in a struggle for space in the field. In a pattern of rotational planting, it is often time to start a new crop before another crop has been fully harvested. These crops then need to be started in the greenhouse so as not to miss that critical window of time. There are, however, seeds that do not do well as transplants. These include root vegetables (beets, carrots, turnips, parsnips), legumes (beans and peas), nasturtiums, and to a lesser extent, cucurbits (melons, cucumbers, and squash).
How To Start Seeds Indoors
Starting seeds indoors or in a greenhouse can seem like a daunting task to the beginner. We will break it down into simple steps that will lead to healthy starts that can be successfully transplanted into the garden.
Choose or Create the Proper Growing Medium
Choose organic materials from a trusted source. Unfortunately, toxic biosolids are added to compost and garden mixes and are even allowed in organic materials, usually labeled as milorganite. At No. 9 Farms, we choose to make our own for economical reasons. Here is the recipe that we use:
- 2 gallons of compost or worm castings
- 2 gallons of coir or properly harvested peat moss
- 1 gallon of fine, asbestos-free vermiculite
- 1/2 C green sand
- 1/2 C rock phosphate
- 1/2 C organic blood meal
- 1 T kelp meal
- 1 T mycorrhizal fungi
- 1 T powdered oyster shell
Directions:
- Mix all ingredients together in a large tub and soak through with water.
- Place growing medium into well-drained containers, including seeding trays, pots, seeding trays, or egg cartons. Soil blocking is an efficient way to do this. Soil blocking tools are available in most seed catalogs.
- Place seeds in the growing medium and cover with soil equal to the width of the seed (in most cases.) See seed packet instructions for exceptions.
- Keeping the soil evenly moist during the germination period is critical. Covering seed trays and containers with a dome or plastic wrap helps keep moisture from evaporating from the soil. It is equally important not to overwater, as this can cause seeds to rot.
- Once seedlings begin to emerge, the newly germinated plant will need direct light. Natural light in a greenhouse should be sufficient. If growing indoors, artificial light will often be required. Halogen bar lights can be hung just above the seedlings, moving them up as the seedlings grow. Seedlings should be vibrant and stalky—lanky seedlings are the result of insufficient light.
- After germination, keep the soil moist, being careful not to overwater. Overwatering can lead to harmful fungal infections and dampening off.
- Harden off seedlings for a few days to a week before transplanting by placing them outdoors in a protected area. Do not place them in direct sunlight or they will dry out quickly.
- Transplant seedlings when the threat of frost has passed, and before the seedlings have become root bound, making sure the soil stays moist while seedlings adapt to their new environment. Choosing an overcast day to transplant is best.
It may be cold and lifeless outside during the dead of winter right now, but it is time to get started on planning your garden! Spring will be here soon.
Stephanie Oaks lives in Ashland City, Tennessee, where she and her husband own and operate No. 9 Farms, an organic farm that specializes in berries, herbs, fruits and vegetables, and Christmas trees. Stephanie spends the remainder of her time homeschooling their two teenage children and teaching classes on organic gardening and healthy cooking.